


The Frustration of a Skewed Image
We've all been there. You dim the lights, grab some popcorn, and fire up your home theater—only to stare at a distorted, weirdly shaped trapezoid instead of a crisp 16:9 screen. Maybe the edges are fuzzy, or one corner seems to be cut off completely.
If you find yourself frantically searching how to fix an uneven projector screen, take a deep breath. Environmental factors, uneven coffee tables, and slightly off-center placements can easily distort your projection.
The good news? You don't need to be a tech wizard to fix it. Once you know exactly what your device's sensors are looking for, you can dial in a perfectly aligned, razor-sharp picture in under three minutes.

Core Concepts: What are Keystone Correction and Focus?
Before diving into troubleshooting, understanding the two primary functions that dictate image quality is essential. Eliminating these cognitive blind spots makes the adjustment process incredibly intuitive.
What is Projector Keystone Correction?
This feature solves the "shape" problem. When a projector is not placed exactly perpendicular to the wall, the image stretches into a trapezoid. Keystone correction uses digital algorithms or optical shifts to pull the distorted corners back into a perfect 16:9 rectangle.
What is Focus?
This feature solves the "clarity" problem. Focusing adjusts the internal glass lenses to ensure the light beams converge sharply on the projection surface. This transitions the image from a cloudy mess into a crisp, high-definition picture.
The Golden Rule of Calibration
Always fix the shape first, then the clarity. Adjusting the keystone alters the physical optical path distance. If focus is prioritized first and then the keystone is changed, the image will immediately become blurry again.

How to Actually Use Automatic Adjustment
Today’s smart projectors pack built-in sensors that practically do the setup for you. But to get the most out of automatic adjustment, you need to know how to trigger it and why it sometimes fails.
Triggering the Magic
Usually, getting a straight image takes one step. You can either press the dedicated focus/keystone button on your remote (often marked with a square or crosshair), or simply give the projector a slight nudge. Most modern units have a built-in gyroscope that senses movement and instantly triggers a fresh calibration sweep.
Why Your Projector Fails to Calibrate
If you run the auto-setup and still wonder, "Why is my projector image crooked?" you might be making a common setup mistake:
- You're blocking the sensor: Projectors have the main lens for the movie, plus a tiny camera sensor nearby that reads the wall. If you push the projector too far back on a table, the table's edge will block that sensor. The machine goes "blind" and fails to focus or square the image.
- Your wall is too complicated: Glossy paint, framed posters that reflect light, or busy wallpaper patterns can easily confuse the time-of-flight (ToF) sensors. The camera can't find a flat geometric plane to map out, resulting in a wonky screen.

The Fail-Safe: Physical Placement & Manual Tweaks
When your room layout makes automatic features struggle, it’s time to go old-school. Manual tweaking is the ultimate fail-safe for a perfect picture.
Step 1: Clear the Runway
Place your device on a completely flat desk or a sturdy tripod. Slide the projector forward until the front lens hangs just slightly over the edge of the furniture. This guarantees the light path is wide open. Whenever possible, aim for "front projection"—putting the projector directly in front of the center of your wall. This gives you the best image quality without needing digital cropping.
Step 2: Manually Pull the Corners
Still crooked? Open your settings menu and select "Manual/4-Point Correction." Your screen will show a grid or target points. Use your remote's directional arrows to independently grab and drag the four corners of your screen until they snap into a perfect, symmetrical rectangle.
Step 3: Focus on the Text, Not the Movie
Grab your remote's focus buttons or the physical wheel on the device. Never try to focus while watching a moving action scene. It’s nearly impossible for your eyes to gauge sharpness. Instead, pull up the static settings menu. Stare straight at the text in the center of the screen. Tweak the focus until the letters are razor-sharp, then check the corners to ensure they are legible too.

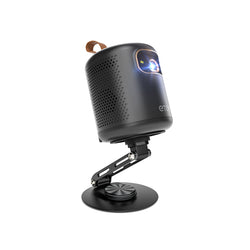
The Ultimate Solution: ETOE's Seamless Smart Projection
If manually diagnosing light path blockages and tweaking four corners sounds tedious, upgrading to a device with superior hardware and algorithms is the best strategy. High-quality projectors eliminate these pain points entirely.
ETOE projectors are engineered with a Fully Sealed Optical Engine Design, which prevents dust accumulation and black spots, ensuring long-lasting clarity without internal maintenance. Combined with officially licensed Google TV, they offer an unparalleled smart home theater experience.

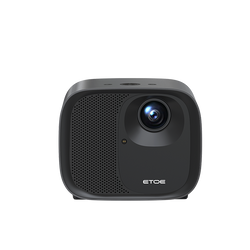
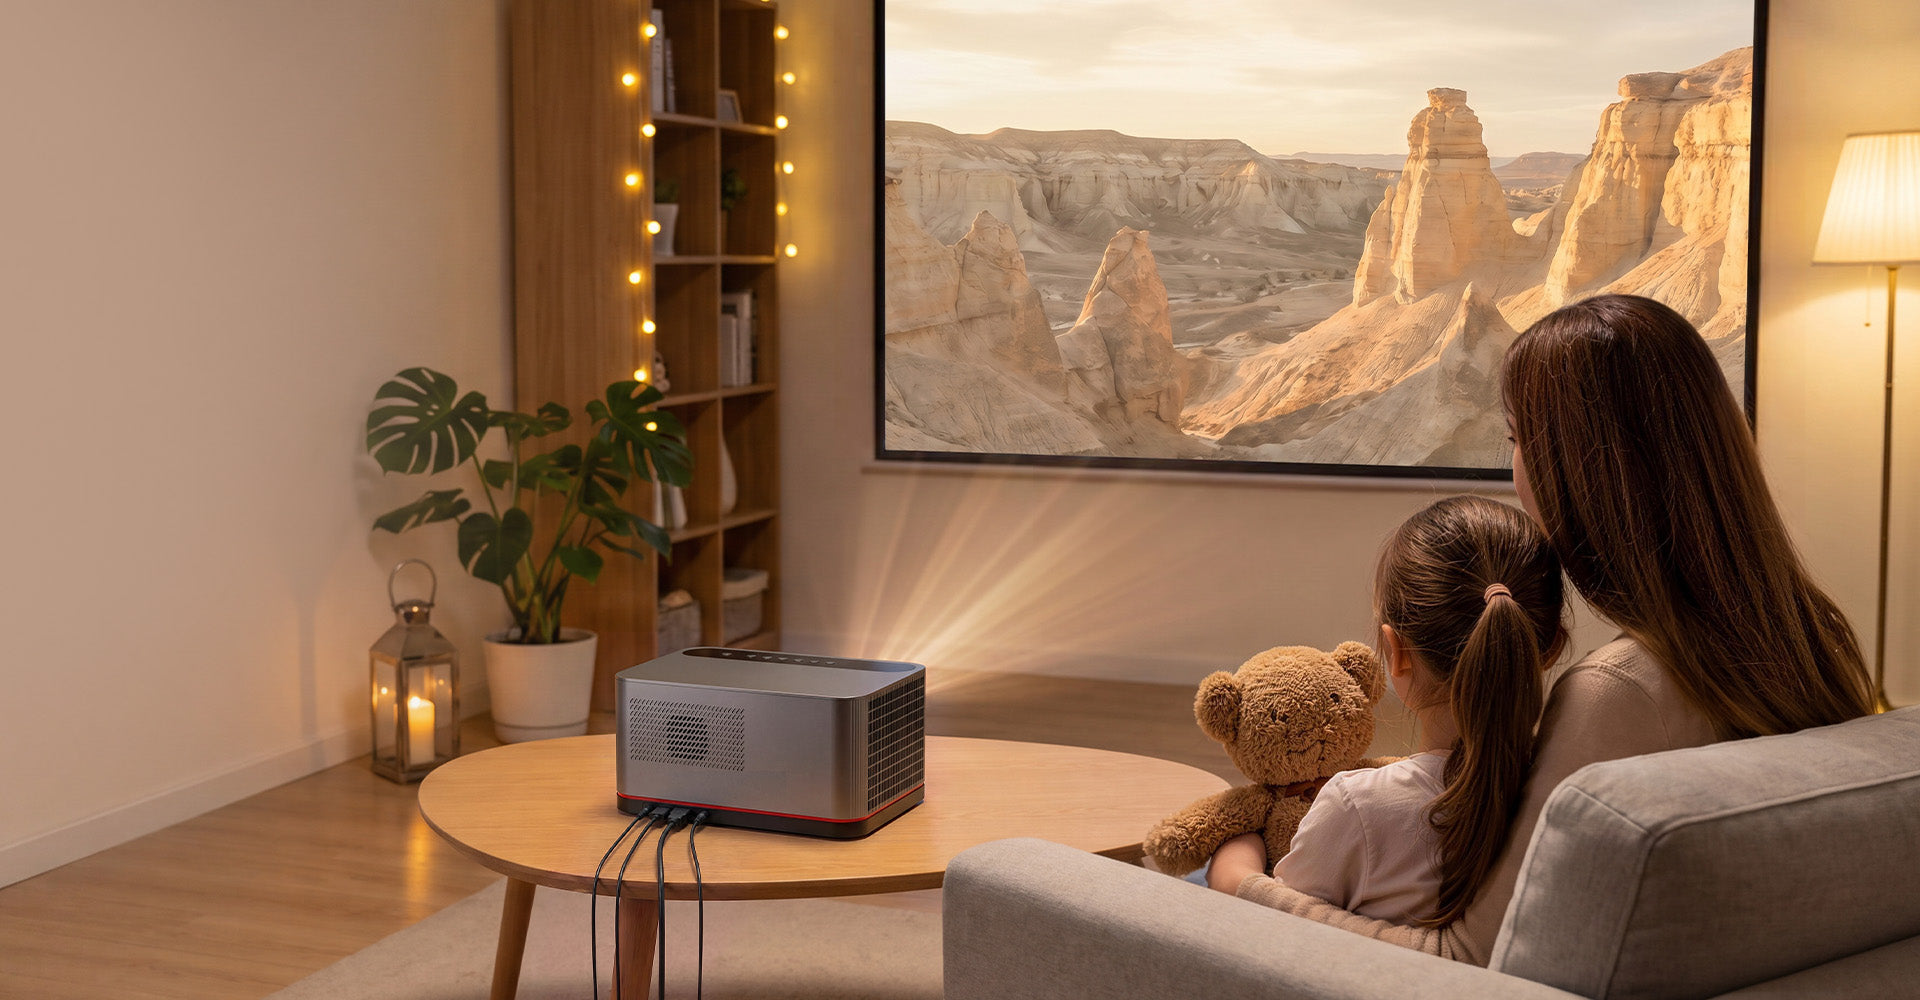
For the Living Room: ETOE Seal Pro 2026 Projector
If you want bright, powerful home cinema, this model delivers 1300 ANSI lumens and 20W Dual Speakers. It completely skips the manual setup hassle by using advanced Auto Focus & Digital Focus. You just turn it on, and the smart sensors instantly calculate the room to give you a sharp, squared image.

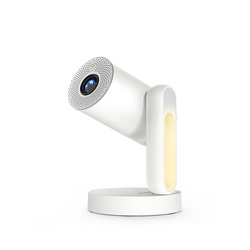
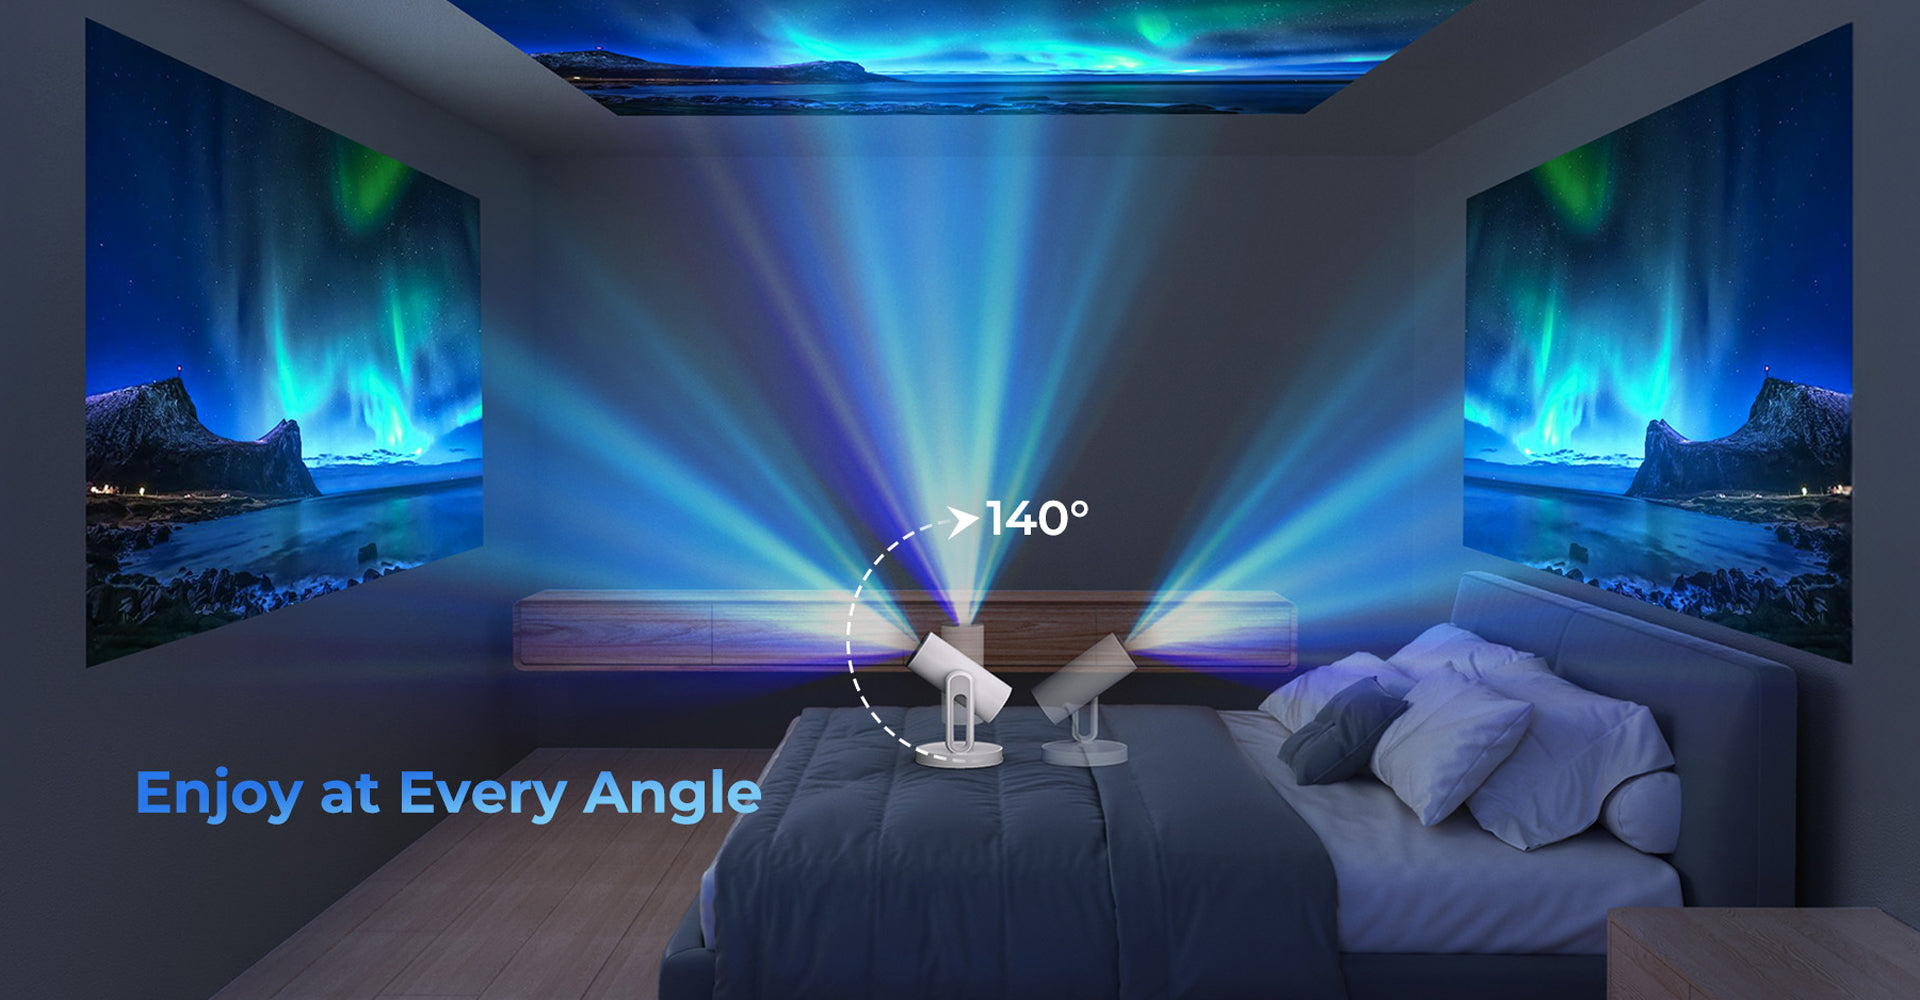
For the Bedroom: ETOE Starfish Plus Projector
If you have a tricky room layout, this is a game-changer. It is a Google TV 1080P projector that features 140° Rotation & Auto Screen Adjustment. You can point it straight up at a sloped ceiling, and the automatic keystone correction instantly shapes the image perfectly. It even has a built-in touch nightlight, making it perfect for your bedside table.

Conclusion
A skewed projector image shouldn't derail your movie night. By understanding how projector keystone correction and focus actually interact, giving your lenses a clear line of sight, and mastering your automatic adjustment tools, you can dial in a cinema-quality picture every single time.
If you’re tired of the manual fuss, investing in smart, sealed-engine ecosystems like ETOE ensures that flawless alignment happens on its own. Check your table edges, run a quick calibration, and get back to enjoying your perfectly squared big screen.
Leave a comment
This site is protected by hCaptcha and the hCaptcha Privacy Policy and Terms of Service apply.